Quick Start Thermostat
After the M429 GFCI Thermostat has been installed and powered on, there are a few settings to adjust in order to take full advantage of the Heatwave system. This is a quick start guide, for complete instructions, please consult the manual included with the thermostat.
9.1 SET TIME AND DAY
9.1.1 SETTING THE TIME
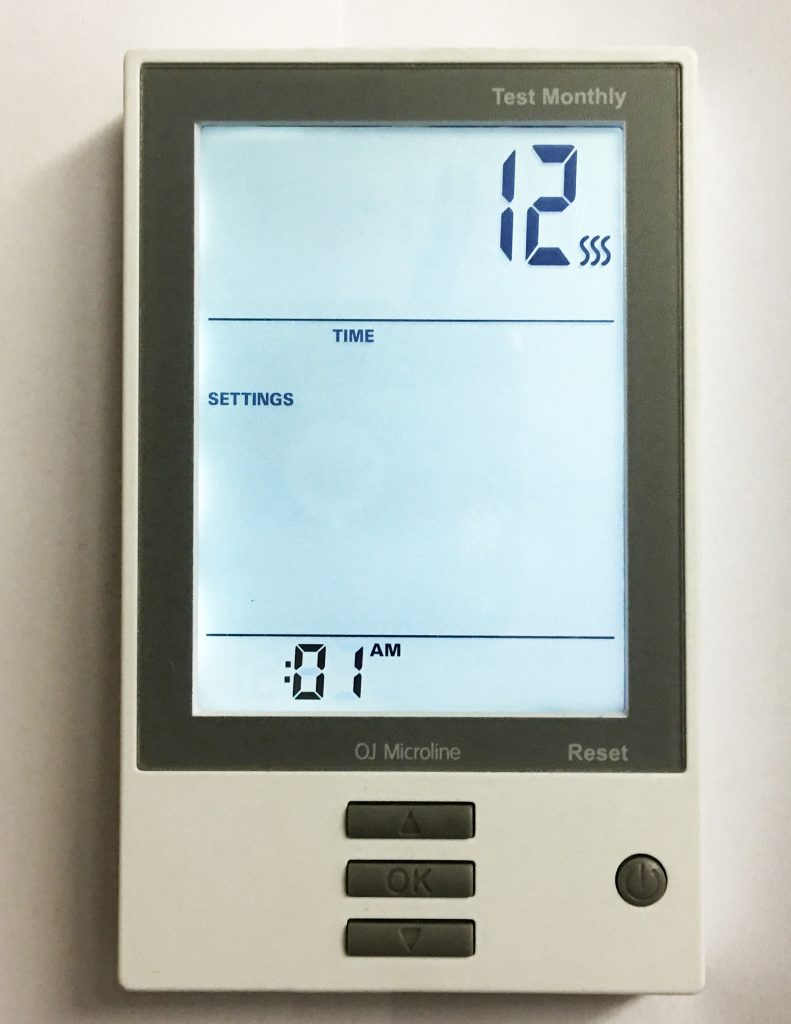
Upon the first power-up the unit should automatically require setting the current time. Using the UP and DOWN arrow buttons adjust the hour to the current hour. Then press the OK button to move to the minutes, adjust minutes using the UP or DOWN buttons. Then press the OK button.
9.1.2 SETTING THE CURRENT DAY
After setting the time, there will be a prompting to choose the correct day of the week. Select the current
day using the UP or DOWN buttons, then press the OK button. Then be returned to the main screen.
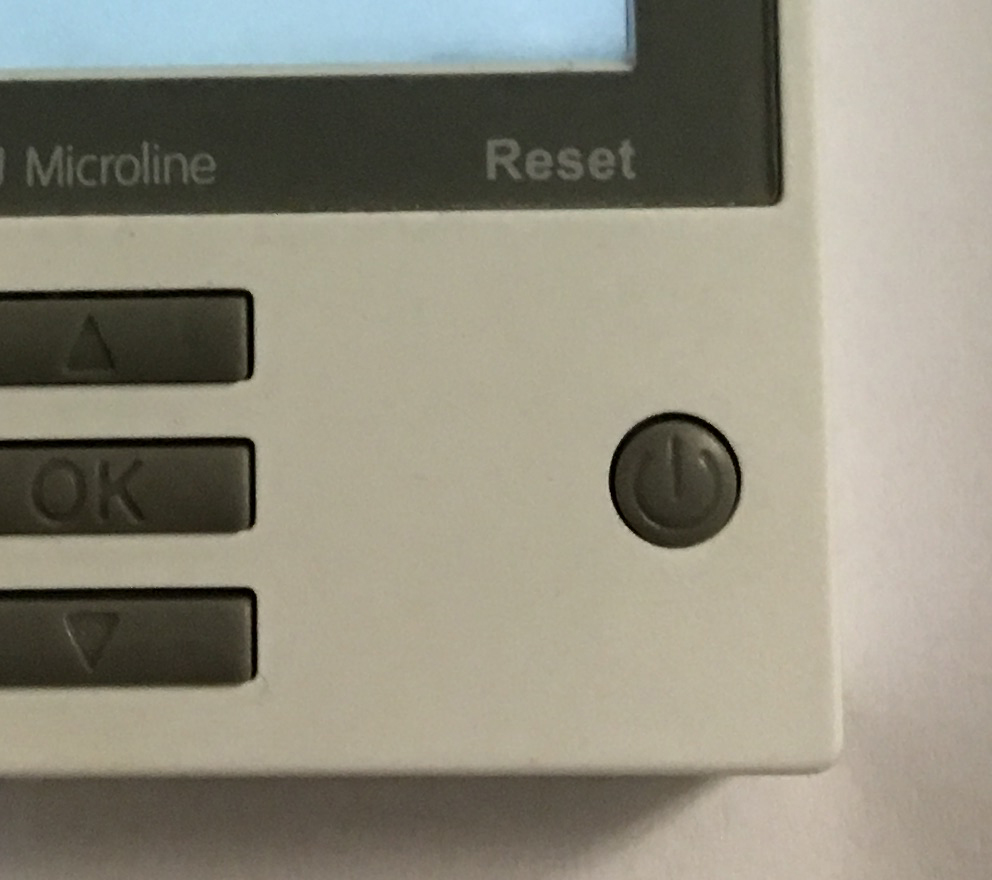
POWER BUTTON: Pressing this button once powers on the unit, holding it down for a few seconds turns it off. While not in Active Mode (no screen backlight), press the OK button twice to enter the menu.
9.2 HOME SCREEN

This is the default screen for a powered on and partially setup unit.
9.3 SCHEDULE SELECT
On the main menu, the second option down SCHEDULE (press OK to select the SCHEDULE settings, and OK again to edit these settings) is for determining whether the unit will run a program based on the following options:
- 7:0 – Runs the same temperature and time settings every day of the week.
- 6:1 – Six days of the week the temperature and time settings are the same, while Sunday is on a separate program.
- 5:2 – The program will run the same temperature and time Monday through Friday, but will run a separate program on Saturday and Sunday.
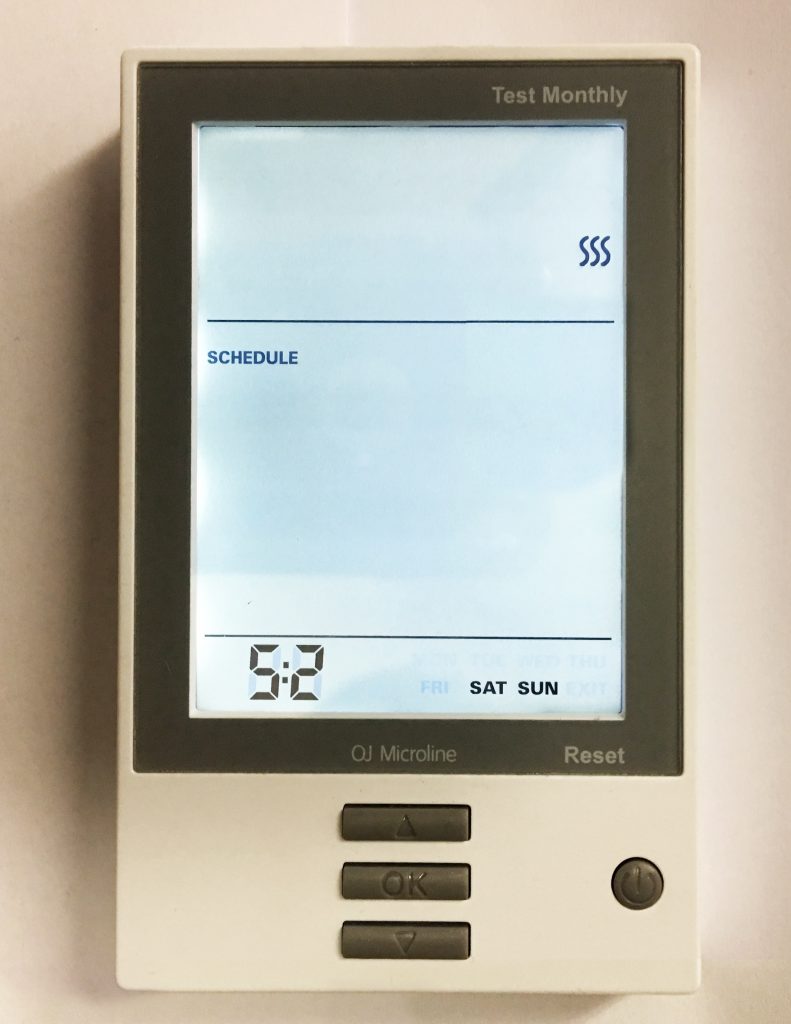
Using the UP or DOWN buttons select a desired schedule for the thermostat, then press the OK to confirm the choice.
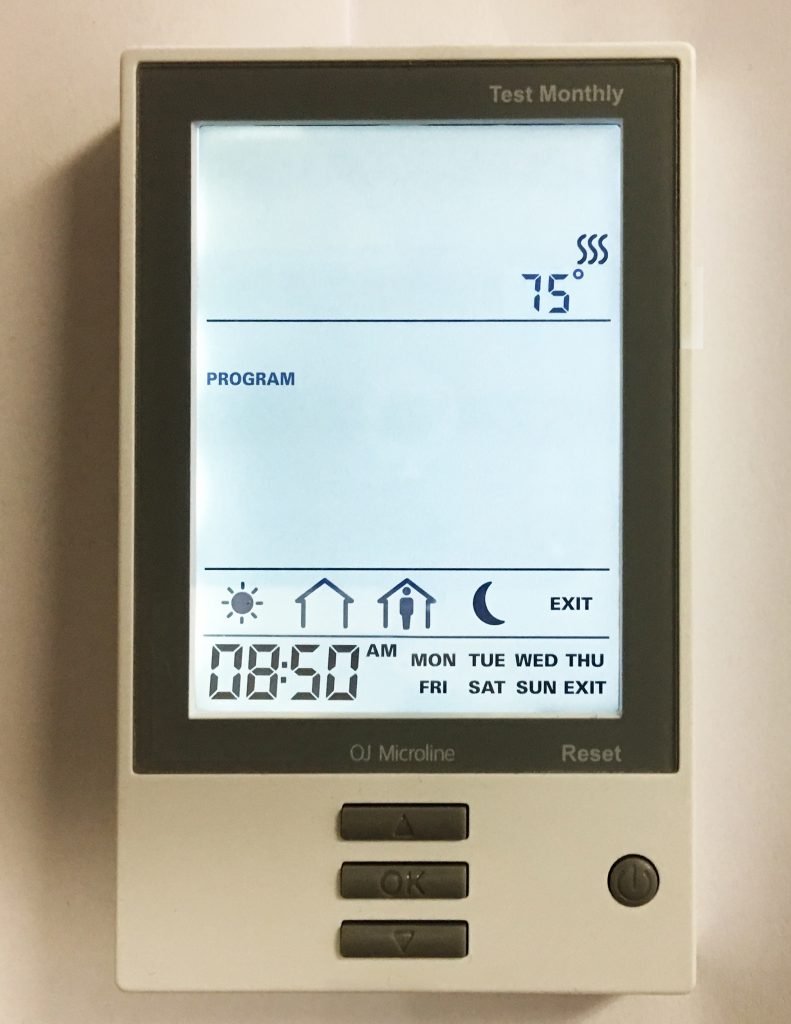
9.4 PROGRAM SELECT
The third option down PROGRAM (press OK to select the PROGRAM settings, and OK again to edit these settings) is where the majority of thermostat programming takes place. All the programming in this function will be done using the UP, DOWN and OK buttons.
9.4.1 FIRST SELECTION:
Setting program based on preferred SCHEDULE settings (see section 8.4). This will either be one or two different programs. The first program will be blinking. To change the SCHEDULE to program, use the UP or DOWN buttons. Press the OK button to edit that program.
9.4.2 SECOND SELECTION:
Setting time period to be programmed. Using the UP or DOWN buttons to select one of the following, then pressing OK to edit:
- MORNING (SUN)
- DAY (AWAY/EMPTY HOUSE)
- EVENING (HOME/FULL HOUSE)
- NIGHT (MOON)
9.4.3 THIRD SELECTION:
This is where the exact activation time for the time period is set. Use the UP and DOWN buttons to adjust the time accordingly. Press OK once done.
(Time is adjusted in 15 minute increments. Only
one exact time per period is available.)
9.4.4 FINAL SELECTION:
The last setting is where the desired temperature is selected. Using the UP and DOWN buttons select a temperature.
Press OK to confirm the setting.
(The range is between 32° – 104° Fahrenheit, however the Heatwave system may not be able to heat to that same range based on several factors.)
Each time OK is pressed, the program, will automatically move to the program section. In the case where there are two schedules, once the final setting for the first schedule is finalized, hitting the OK button will move to the next schedule to program, if applicable.
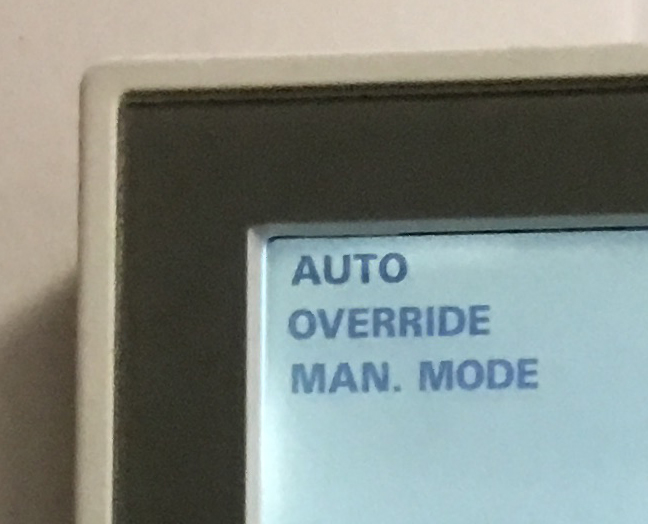
9.5 MODE SELECT
On the main screen, the MODE menu will be shown blinking first with three options:
- AUTO – Default mode that most users will want to use which sets temperature based on a user-created schedule.
- OVERRIDE – To temporarily override temperature/schedule settings.
- MAN. MODE – To use the thermostat to adjust the temperature on user input without a schedule.
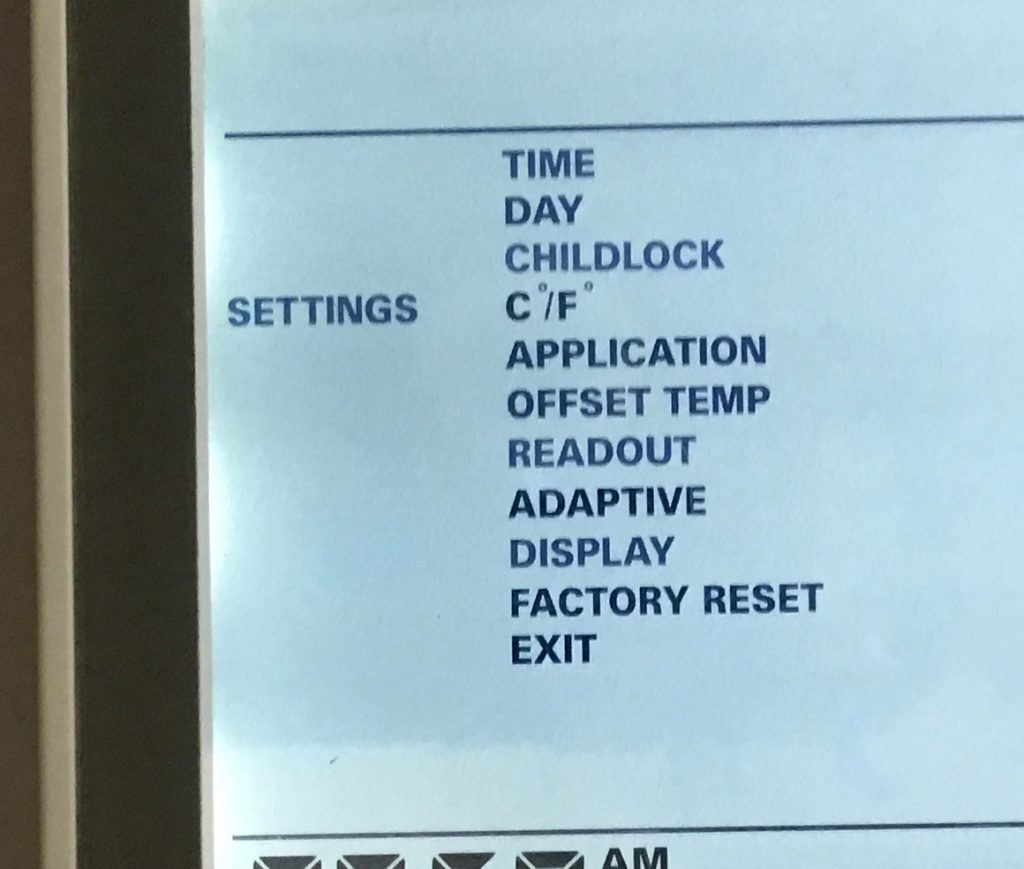
9.6 OTHER SETTINGS
SETTINGS (fourth menu item from the top) is where several other options can be configured for this thermostat. Please consult the user manual for complete information about these options.