Heatwave Mat Installation
5.2 Heatwave® Mat Installation
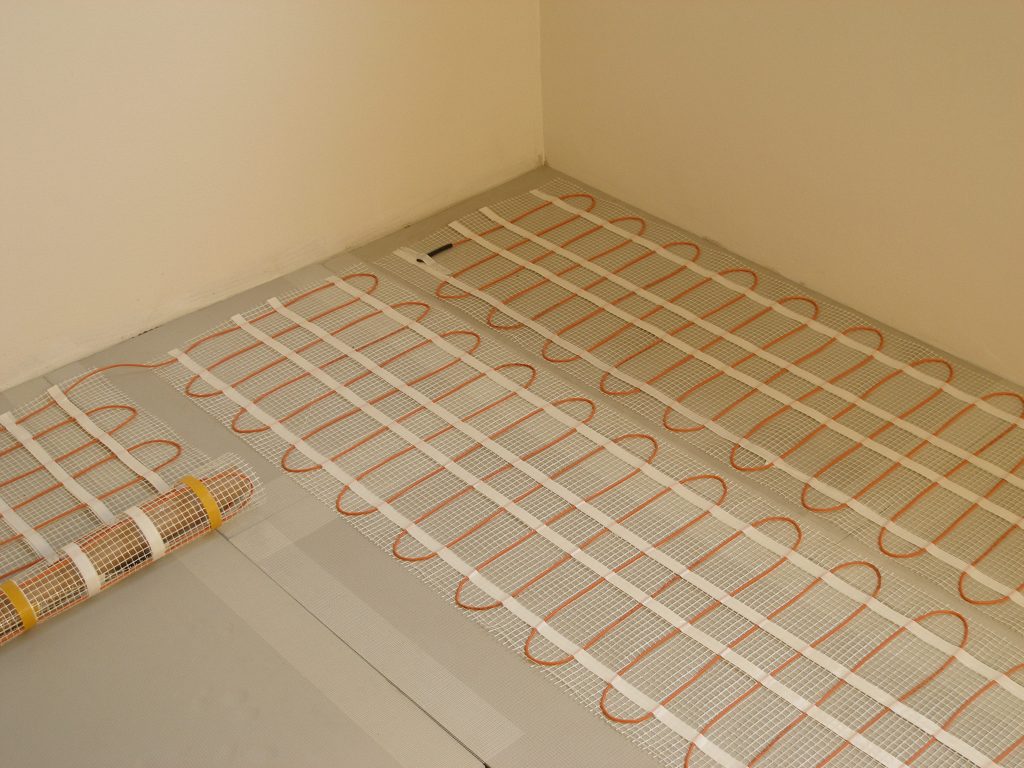
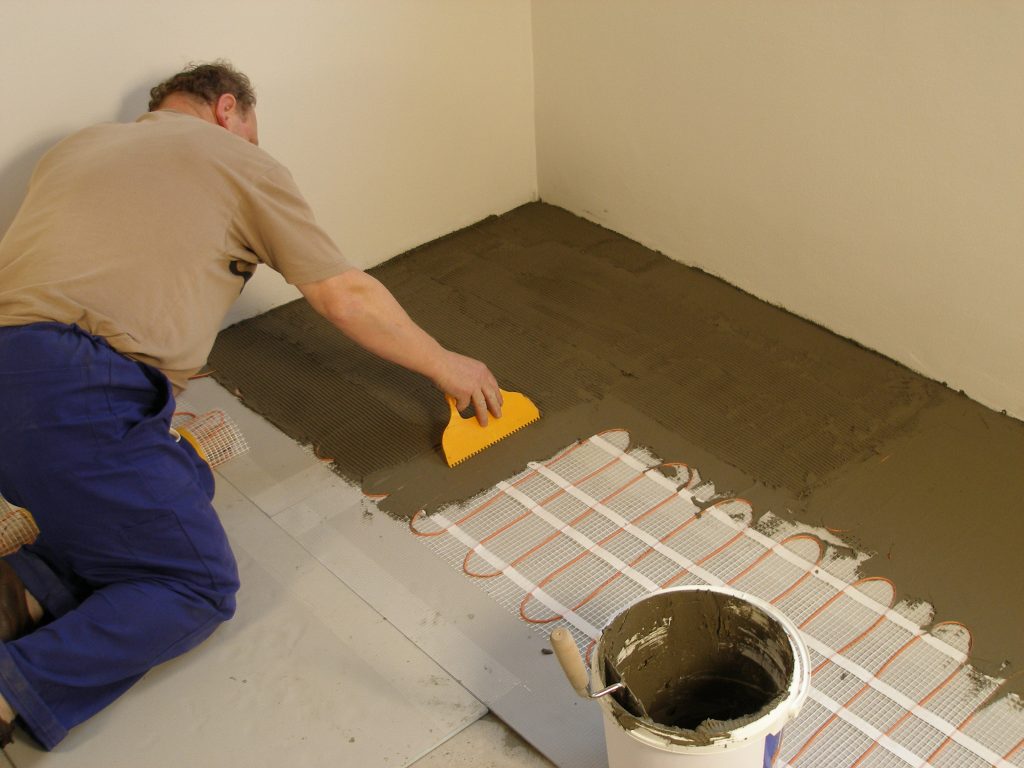
5.2.1 Start by placing the mat such that the connection point and the temperature sensor are in their intended final positions and bring the cold lead to the thermostat or connection box. If a floor alarm or “screamer box” is being used, attach it now (see section 7.4, FLOOR ALARM USAGE). Ensure the connection between the heating cable and cold lead will be properly embedded in thinset and/or mortar. Begin unrolling the Heatwave® Mat evenly across the floor outside the areas that were marked previously. When the next wall is reached, cut the mesh (being careful not to cut the red heating cable), turn the mat, and begin rolling in the desired direction. See Heatwave® Mat Layout Configurations on Page 17.
5.2.2 Ensure that the Heatwave® is in full contact with the subfloor at all times. Avoid walking on the heating mat. If this is not possible, use shoes with very soft rubber soles. When approaching obstacles (toilets, cabinets, etc.), carefully remove some of the red heating cable from the mat and lead the cable around the obstacle. In some cases pieces of the mesh will be cut away entirely. DO NOT CUT THE RED HEATING CABLE.
5.2.3 Use Heatizon Plastic Cable Clips, hot glue*, or a thin strip of tape to secure the loose cable to the floor.
*Do not place hot glue gun tip directly on heating cable.
5.2.4 MEASURE THE RESISTANCE (TEST #2)
Use a digital Ohm meter to measure the resistance of the Heatwave® Mat/Cable and compare it to the total Ohms in the tables in Section 4.1 for Mats or in Section 4.2 for Cables. Record the measured resistance on the Registration Form. Documenting the resistance at each stage of installation is required for warranty purposes. Also, measure the resistance between each conductor and the shielding/ground wire. Both should read infinity. Please refer to Section 7 (Commissioning) for instructions on how to measure the resistance.
Heatwave® Mat Layout Configurations
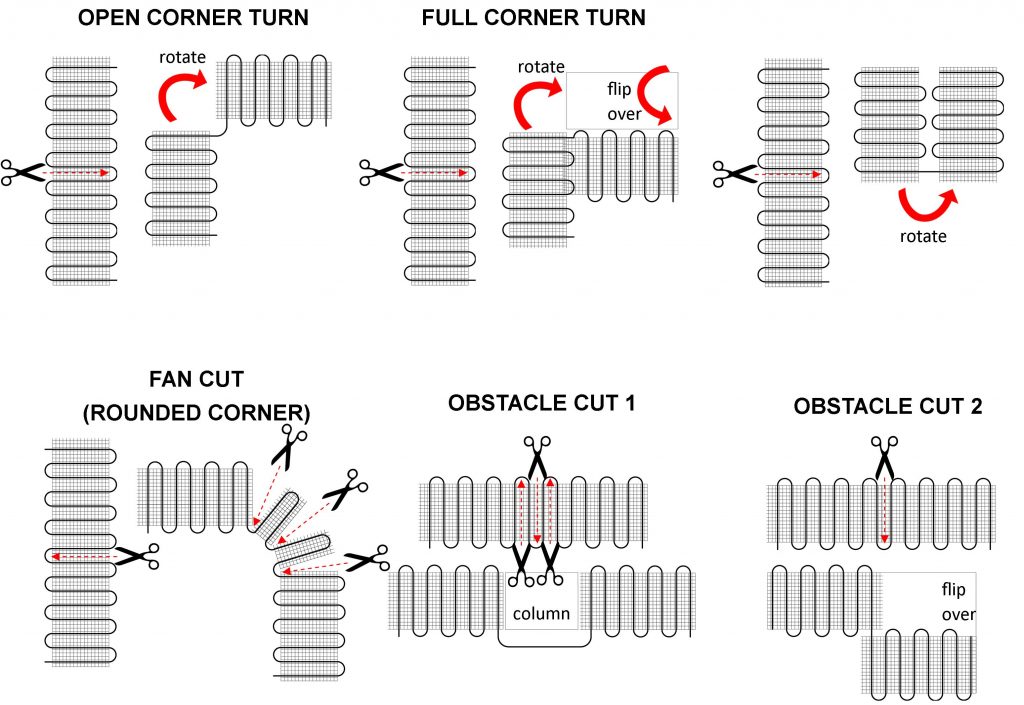
The Heatwave Mat can be placed with either side facing up.
Only the bottom side of the mat has adhesive.