Installation
Concrete Preparation:
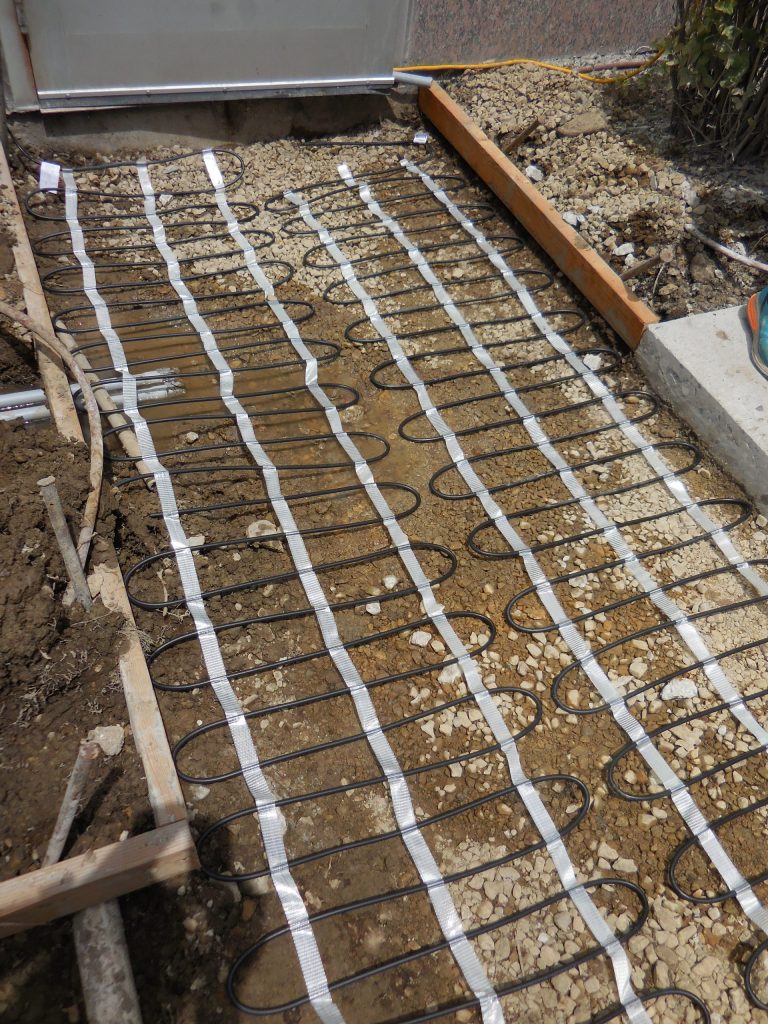
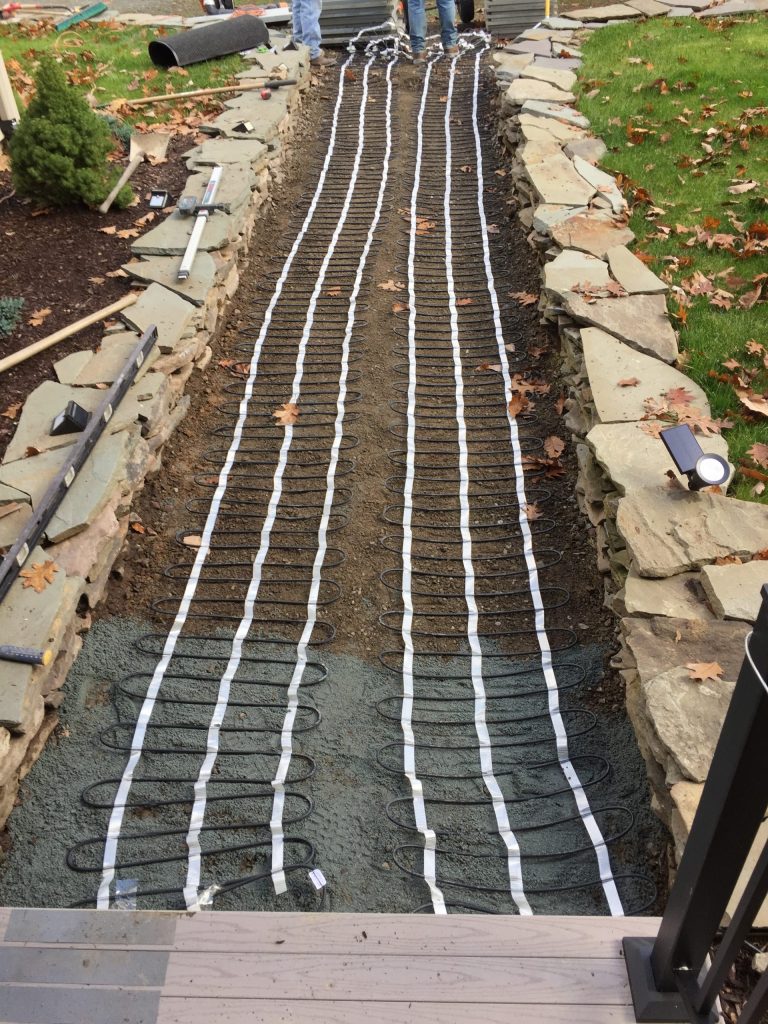
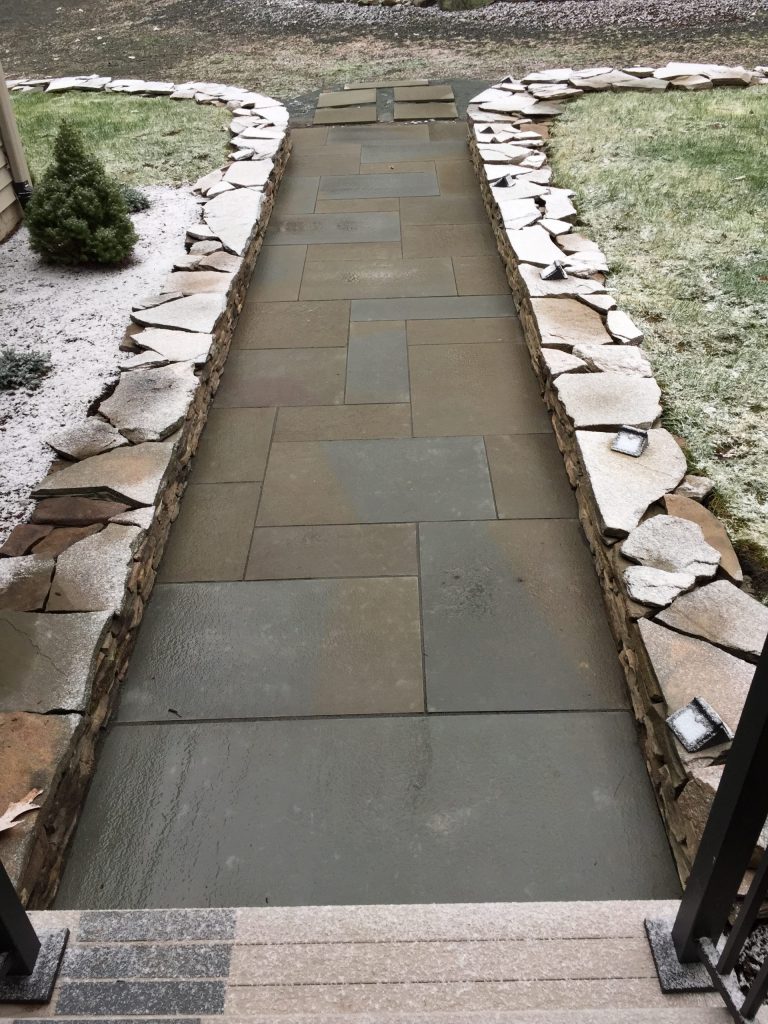
Loose heating cable not in a mat may be secured in place by landscape stakes and plastic wire ties, welded wire fabric and plastic wire ties or tape, or pre-punched steel straps purchased from your Heatizon Distributor or Representative. Do not compress or strain the cable, run heavy machinery, equipment, or vehicles over it. Be careful to avoid stepping on the cold section factory connection of the cable. Consult the NEC or CEC for grounding requirements of rebar or welded wire fabric for concrete installations. When working with concrete or asphalt joints, design the layout so each section of the slab is covered and the cable crossing of joints are minimized. See page 15 for example layouts. Mats should be installed in evenly spaced runs per the system design and plan. Sleeve hand rail posts to avoid drilling or penetrations in the slab after the pour.
- Two Pour Concrete: In this installation a concrete slab is already present and an additional slab will be poured on top. The heating cable can be layed out using welded wire fabric and zip ties or tape, or pre punched steel strapping for loose cable installations not in a mat form. Cold leads should be sleeved for this installation following conductor fill and size requirements in the NEC and CEC. The heating cable portion and cold connection can not pass into the conduit sleeve. Jumpers must be used to protect the heating cable where joints are present on the concrete slab below as well as in the new slab.
- Single Pour Concrete: In this installation the aggregate or concrete base is prepared first. Once the base is prepared the installer can begin by placing a grid of welded wire fabric or rebar in preparation for the heating cable. The heating cables or mats can be attached to the welded wire fabric with plastic zip ties or tape. Take note of layout examples on page 9 for installations requiring jumpers. Jumpers must be used for any and all joint cable crossings. Do not cross expansion joints. Once the heating cable is installed, place chairs or concrete dobies under the rebar or welded wire fabric grid to bring the heating cable within 2” to 3” of the surface. Cold leads can be sleeved following conductor and fill size requirements in the NEC and CEC. The heating cable portion and cold connection can not pass into any conduit sleeve.
Asphalt Preparation:
Loose heating cable not in mat form may be secured in place by landscape stakes and plastic wire ties, welded wire fabric and plastic wire ties or tape, or pre-punched steel straps purchased from your Heatizon Distributor or Representative. Cables in a mat can be layed out in the configuration desired directly on the surface. Do not compress or strain the cable, run heavy machinery, equipment, or vehicles over it. Be careful to avoid stepping on the cold section factory connection of the cable. Consult the NEC or CEC for grounding requirements of rebar or welded wire fabric for asphalt installations. When working with concrete or asphalt joints, design the layout so each section of the slab is covered and the cable crossing of joints are minimized. See page 9 for example layouts. Cables or mats should be installed in evenly spaced runs per the system design and plan. Sleeve hand rail posts to avoid drilling or penetrations in the slab after the pour.
- Two Pour Asphalt: In this installation a binder or base coat of asphalt is layed down and an additional asphalt layer is placed on top of the heating cable. The base coat is to be rolled smooth in preparation of the heating cable installation. Welded wire mesh can be used to install loose cables in a grid. The grid can be secured to the base coat slab using stakes. If using a heating cable in mat form, the mats can be layed out on the base coat slab and secured down using the mesh portion of the mat and not the heating cable. Cold leads should be sleeved for this installation following conductor fill and size requirements in the NEC and CEC. The heating cable portion and cold connection can not pass into the conduit sleeve. Jumpers must be used to protect the heating cable where any and all joints are present. Do not cross expansion joints.
- Single Pour Asphalt: In this installation the aggregate or base is prepared first. Once the base is prepared, a layer of sand or stone dust is placed over the base coat approximately 1” thick. The installer can begin by placing a grid of welded wire fabric or landscaping stakes in preparation for the heating cable. The heating cables or mats can be attached to the welded wire fabric, or landscaping stakes with plastic zip ties that will not melt. Take note of layout examples on page 11 for installations requiring jumpers. Jumpers must be used for any and all joint cable crossings. Cold leads should be sleeved following conductor and fill size requirements in the NEC and CEC. The heating cable portion and connection can not pass into any conduit sleeve.
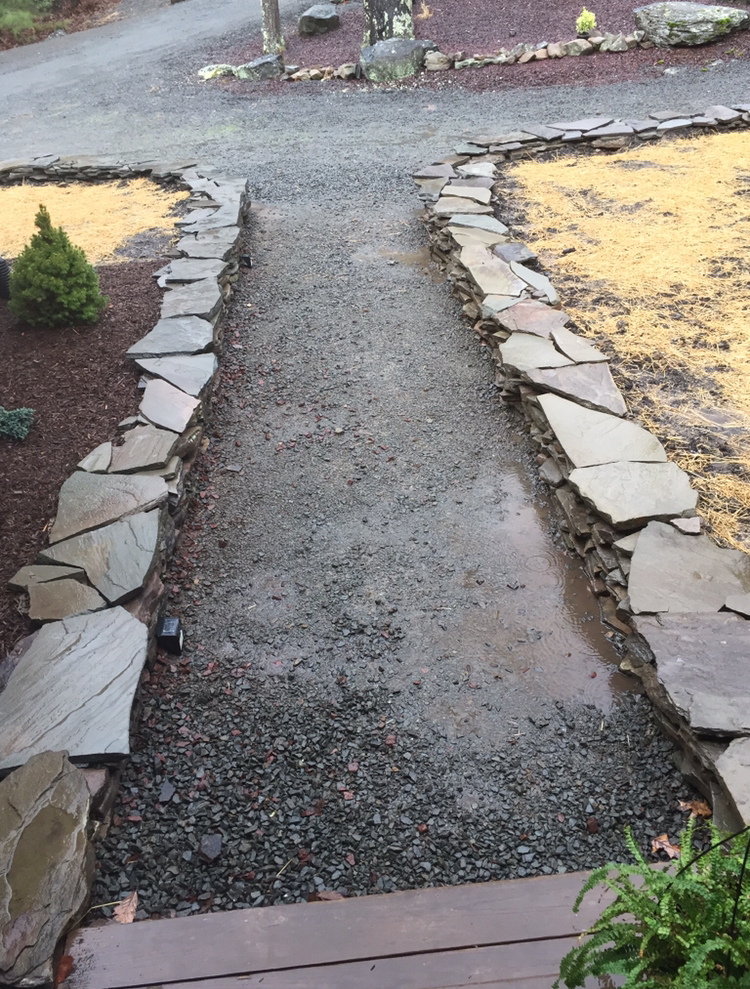
Sand Bed Paver Preparation:
The heating cable may be secured in place by landscape stakes and plastic wire ties, welded wire fabric and plastic wire ties or tape. Do not compress or strain the cable. Do not run heavy machinery, equipment, or vehicles over the cable. Be careful to avoid stepping on the cold section factory connection of the cable.
- Sand Bed Installation: In this installation the aggregate or base is prepared first. Cover the base with 1/2” layer of compact sand. Use welded wire fabric or landscape stakes to place loose heating cables or lay the heating cable mat on the layer of sand in accordance with determined layout. Cover the heating cable or mat with another 1/2” layer of sand. The paver installer must be careful to not walk on the factory connection or damage the heating cable with shovels, rakes or other tools. Cold leads should be sleeved for this installation following conductor fill and size requirements in the NEC and CEC.
Mortar Under Stone & Tile Preparation:
The heating cable may be secured in place with pre-punched steel straps or anchor kits purchased from your Heatizon Distributor or Representative. Do not compress or strain the cable. Do not run heavy machinery, equipment, or vehicles over it. Be careful to avoid stepping on the cold section factory connection of the cable.
- Mortar Bed Installation: Anchor the heating cable in parallel runs in preparation for mortar placement. Cold leads should also be anchored for this installation back to the exit point of the slab and placed in conduit following conductor fill and size requirements in the NEC and CEC.
Stairs:
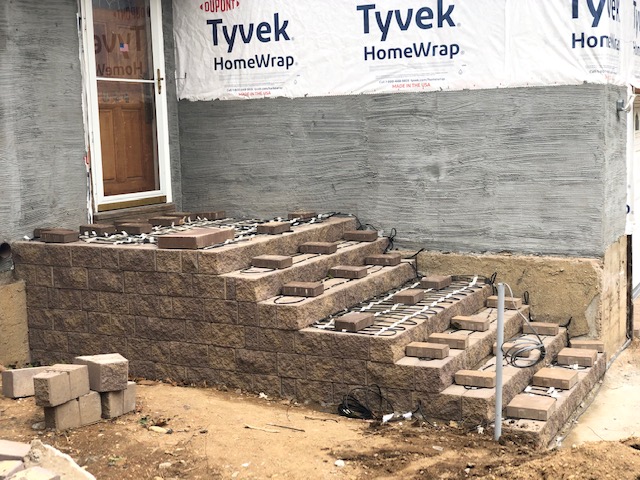
When installing in stairs, ensure that the heating element should not be too close to the edge of the stair and still be completely embedded. Also be sure that where the cable spans the rise of the stairs get embedded in the substrate to avoid causing a hot spot, and damaging the cable. Avoid doing a full run on the rise of the stair.
- Concrete Stair Installation: The heating element must be 2-3 inches below and spaced 4” away from the edge of the stair. When the cable spans the rise, it too should be completely embedded. If using rebar, use the same methods to secure the cable to the rebar as decribed in the “Concrete” section. Use Jumpers when stairs will have joints between individual stairs, or into adjoining concrete that is to be heated. Be careful to avoid running heating cable where hand rails will be installed.
- Paver Stair Installation: Be sure that the heating element is properly secured prior to mortaring, and be sure that all the heating element is properly embedded. The cable should not be strained or compressed. Allow the mortar to fully cure before walking on pavers.
Cold Lead(s):
The cold lead(s) should be run in a conduit to either a junction box, panel, or activator and should NEVER cross or come in contact with the SnowMeltz® heating element.